How to Choose Your Wedding Veil: 3 Easy Steps

Hi everyone, welcome to Wendy's Boutique!
Today I would like to share with you how to choose the perfect wedding veil for your big day.
This is one of the questions that we get asked from brides all the time, who don't quite know where to start when it comes to choosing their veil for their perfect day.
So, I am going to walk you through the 3 easy steps to choosing the perfect veil!
Step #1: Choosing Your Style

Although there seem to be so many styles that comes to wedding veils, really, there are four main styles.
Style #1: The Single-Tier Veil
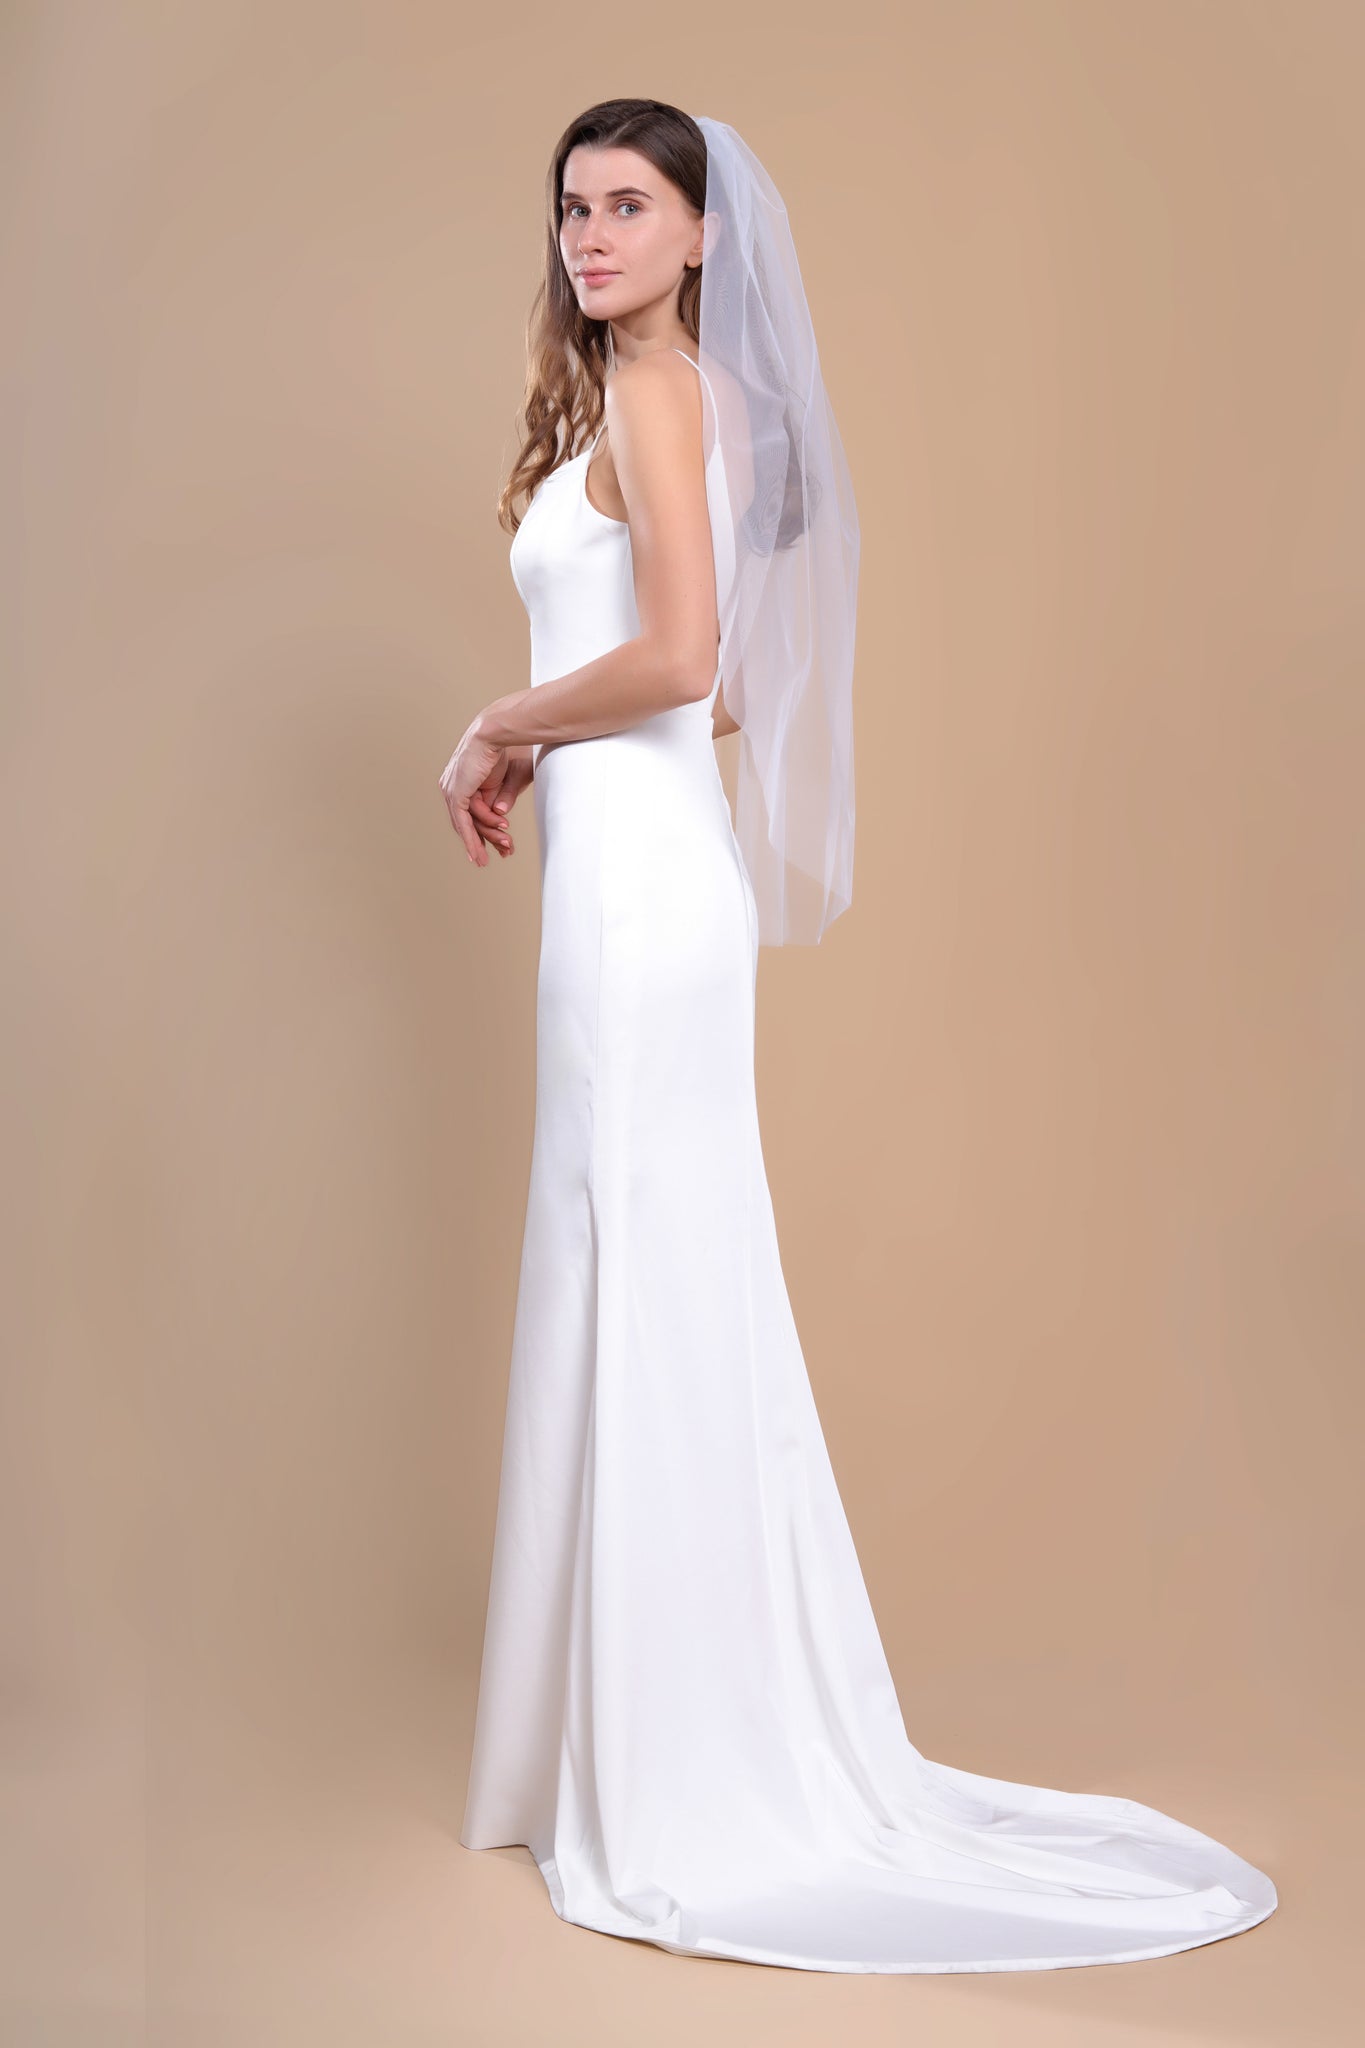
First style is a Single - tier Veil. The style of veil is pretty much what you envisioned when you think of anything bridal.
It's a single piece of tulle, gathered and sewn to a bridal comb.
Single-layer veils can have little or have much volume in your hair, it can be short or long, you can have a raw edge or be finished with lace or other finishing accents.
So, a Single - layer Veil is best for brides who are looking for something lighter to complement a traditional look.
Style #2: The Two-Tier Veil
Next is Two - tier Veil, which is my personal favorite. This is so sheer and so romantic, which is every girl's dream.
This style is just like the Single - tier Veil, but it has an extra layer gathered and attached to the comb.

Brides who want a Two - tier Veil are usually looking for a nice volume or for a traditional face cover (a 'blusher' tier) that can be flipped over and worn in front of your face as you walk down the aisle.
Style #3: The Drop Veil
Next is Drop Veil.
This is a single piece of fabric that is placed on your head and then you traditionally pin it in, so there is no gathers or volumes, letting you shine through.
What you need is only a pin, you can style it as you like.
Style #4: Mantilla
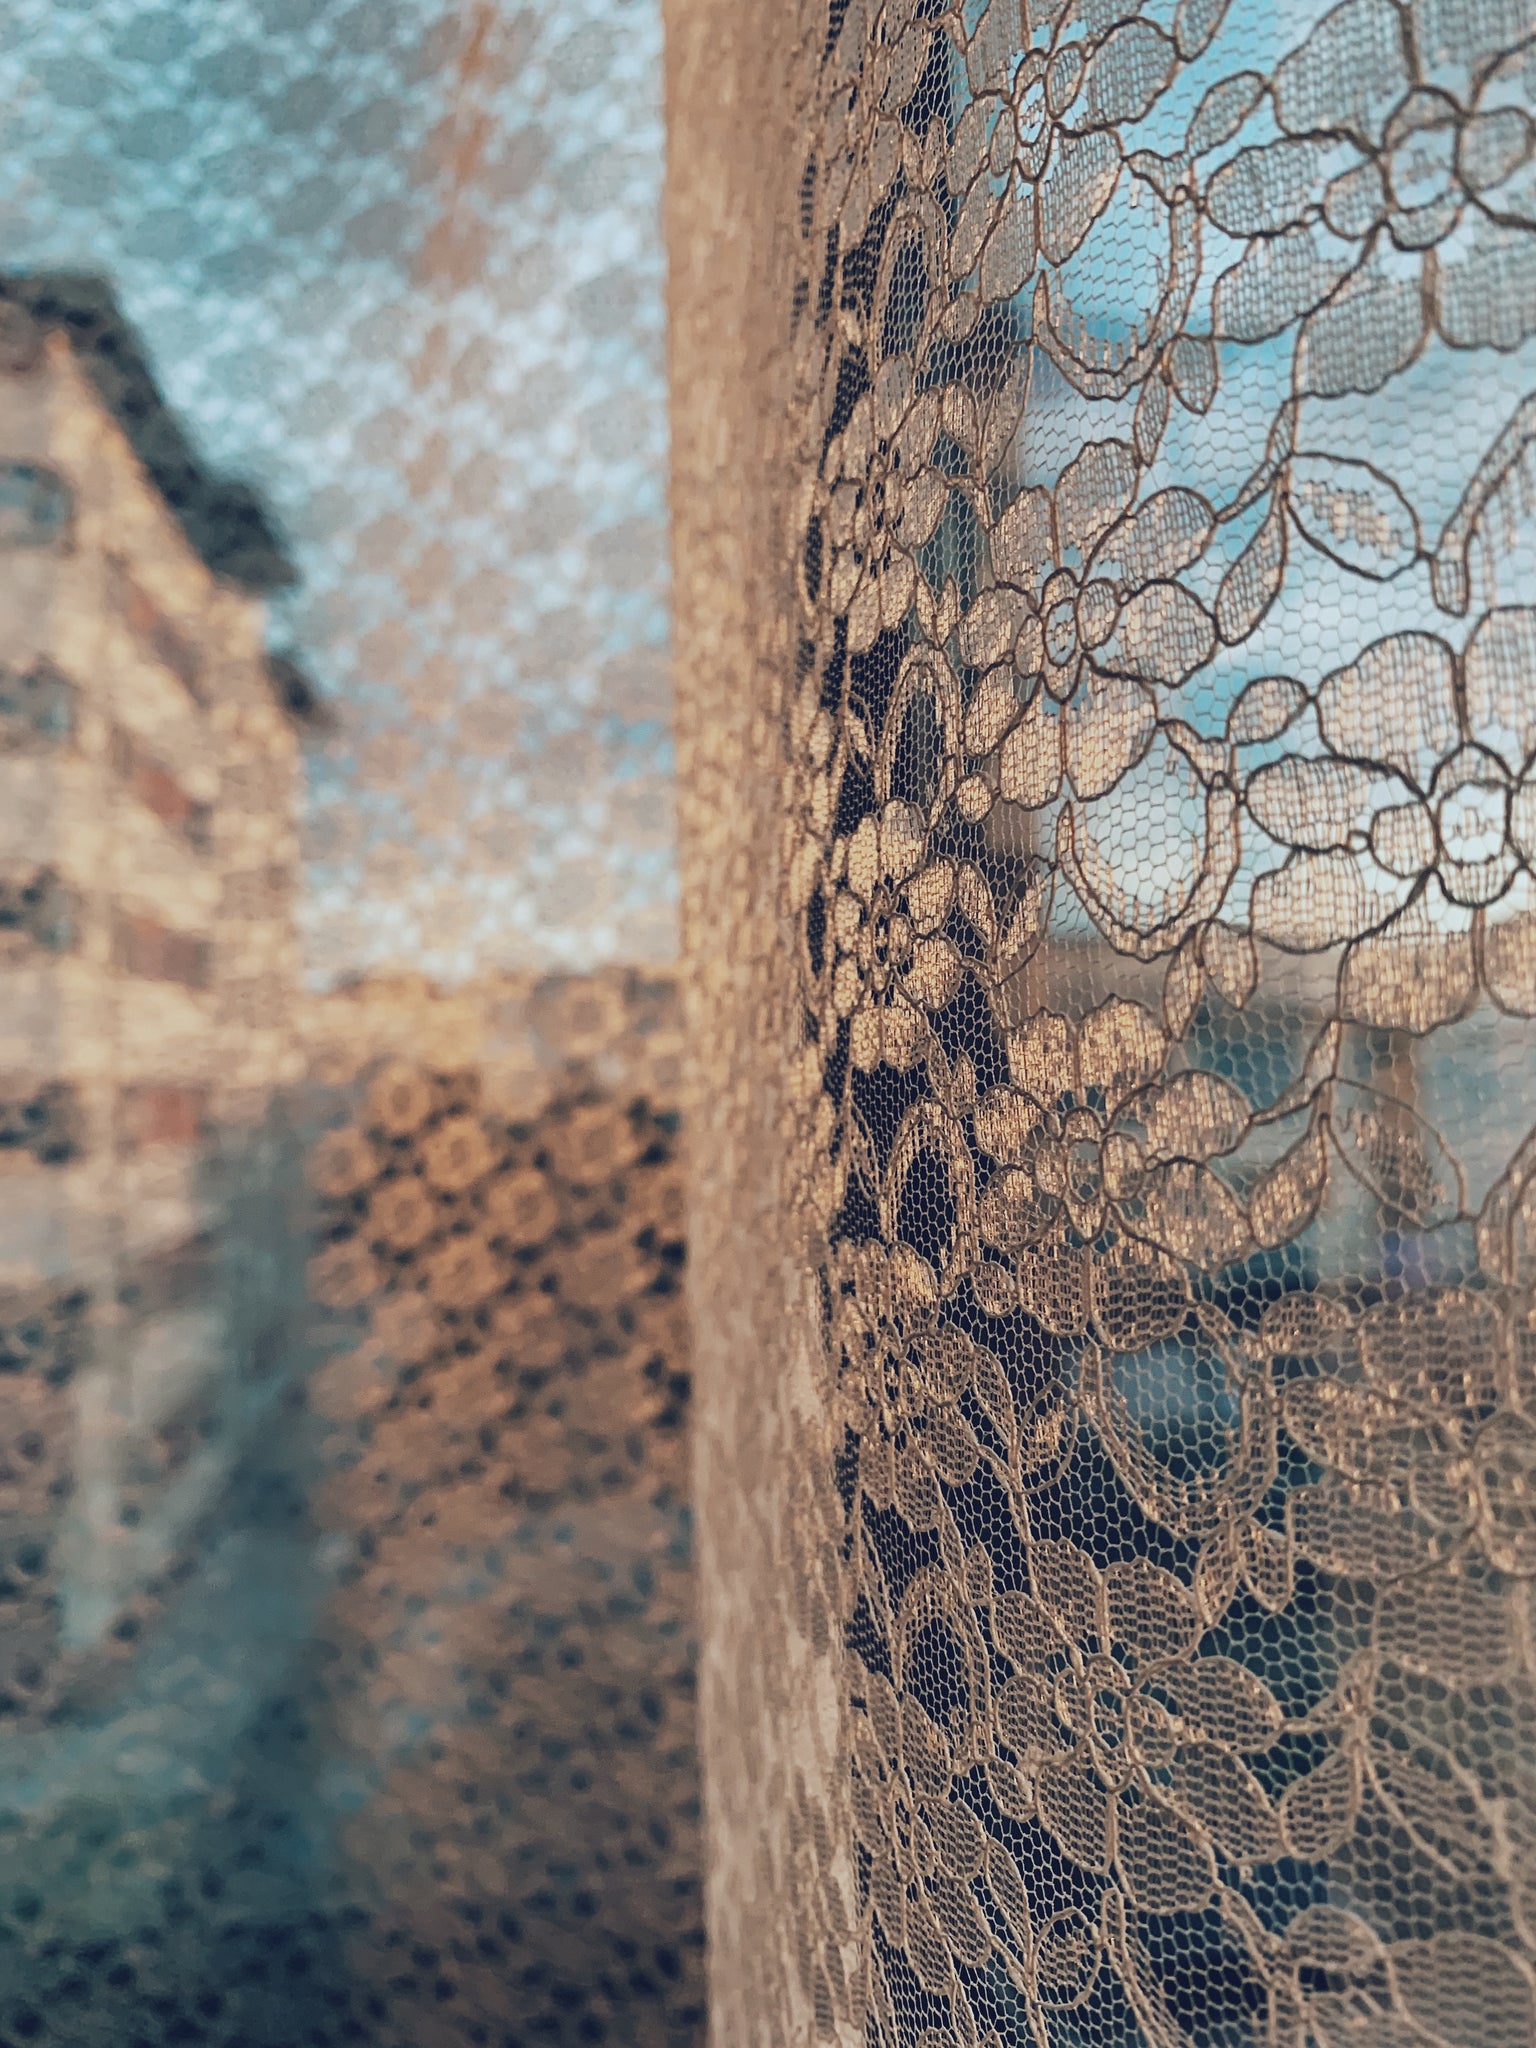
Last but not least is a forever beautiful Mantilla. This is very traditional for church weddings or chapel weddings because it has a very nice shoulder coverage.
But actually, because of its sheerness and romantic style, it becomes so popular with brides in general for any type of weddings.
A mantilla's lace lays against your hairline for a perfect finishing touch to your overall bridal look.
Step #2: Choosing Your Length
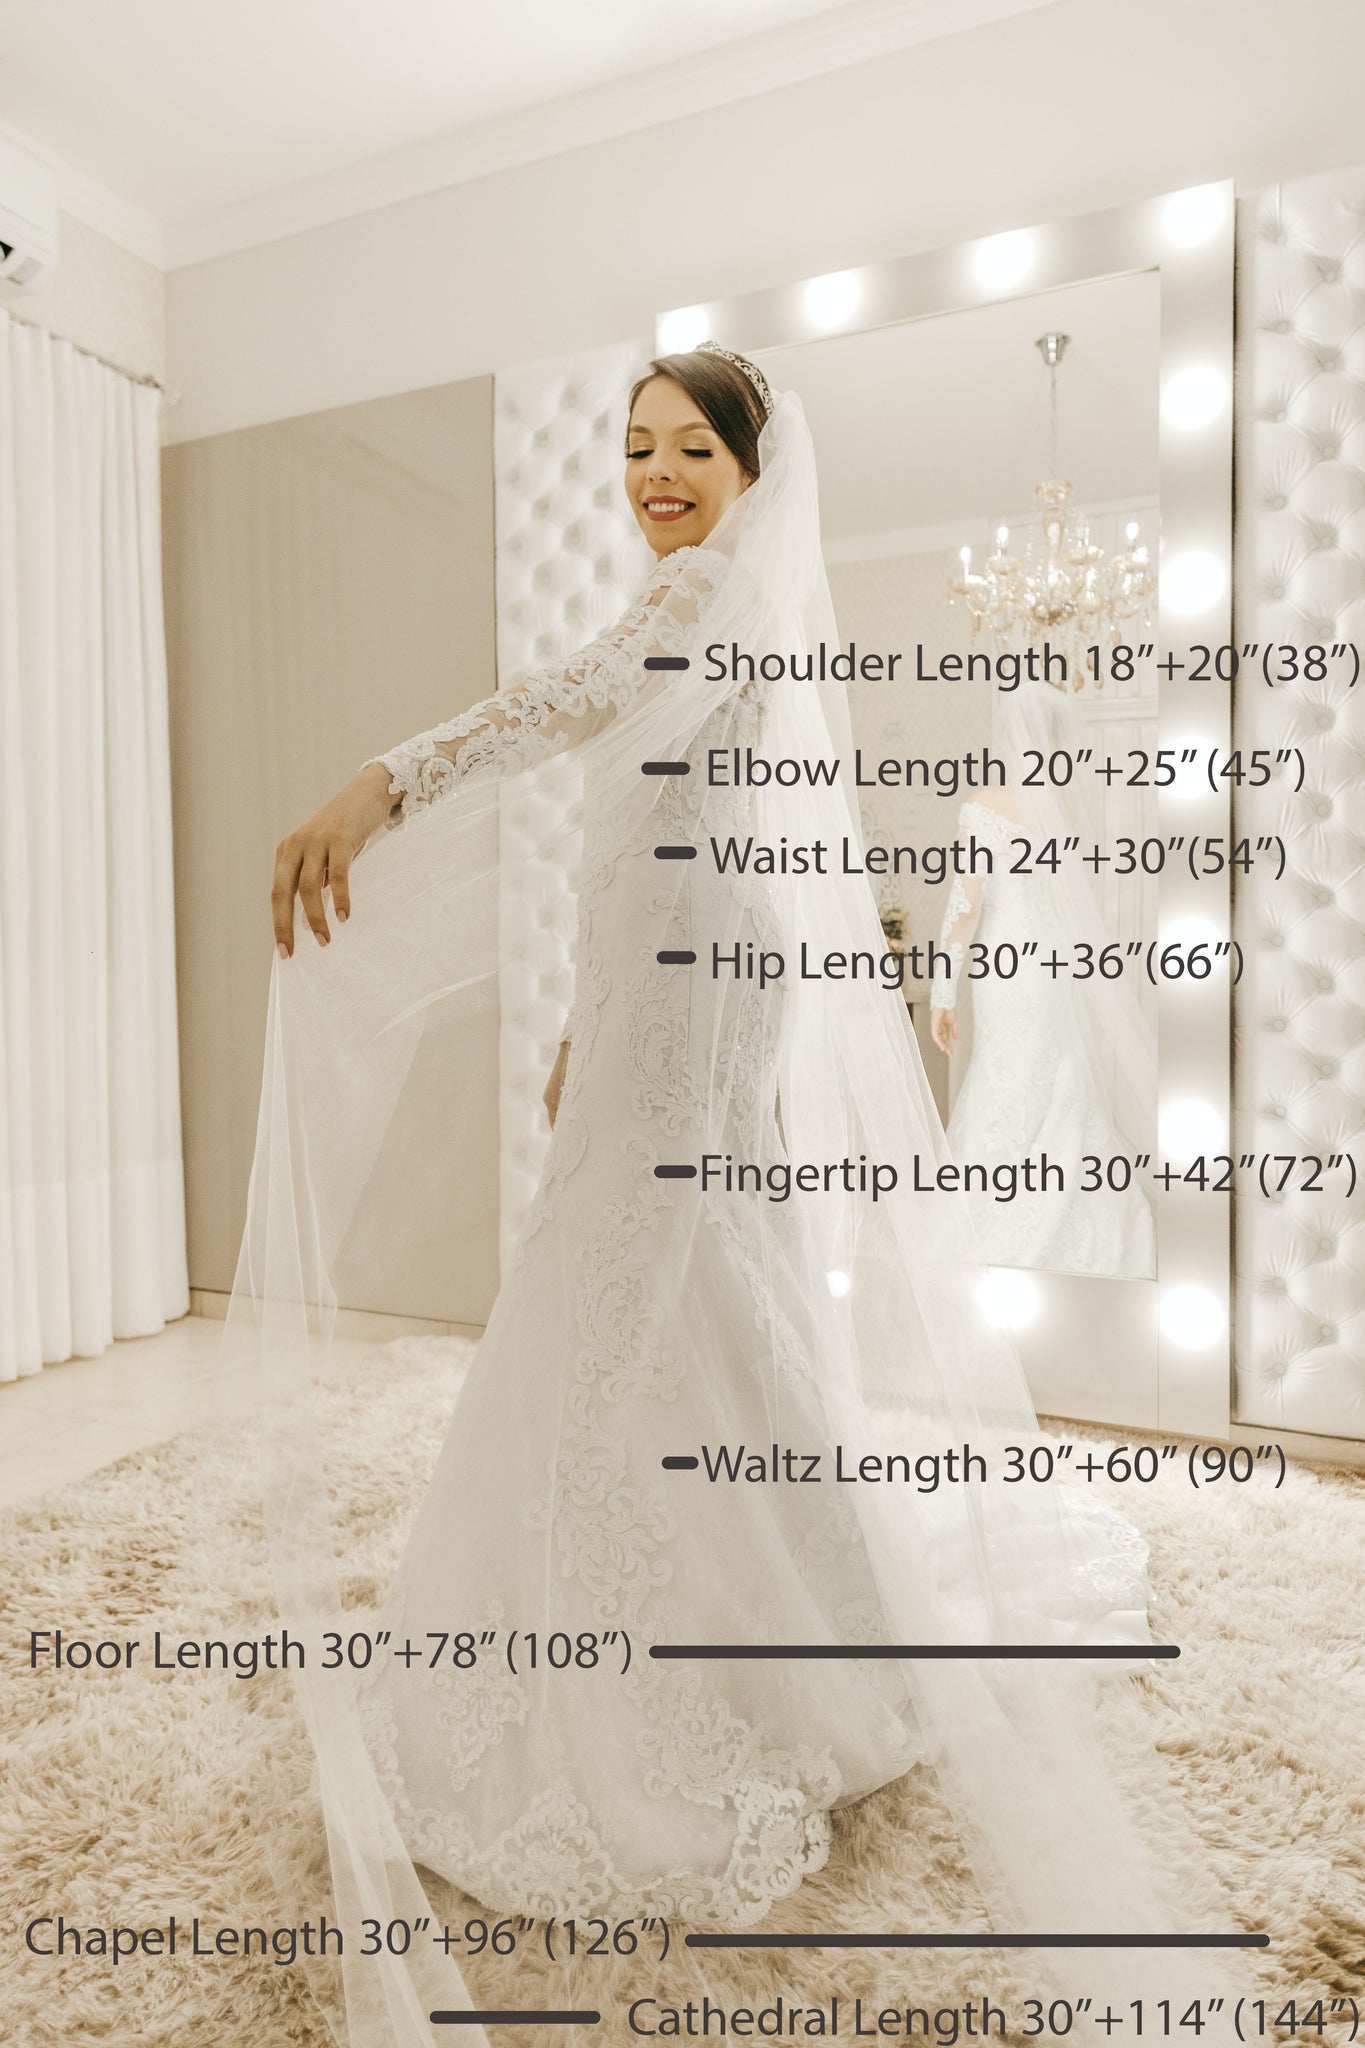
The length is actually what most brides have the hardest time deciding on, but it's really one of the easiest things to determine.

What we usually suggest is that your veil be as long as your dress is trimmed or longer; or if you want something shorter or a bit more modern, we usually recommend choosing the same length as your dresses natural waistline, that means wherever your dress starts to flare out.

If you have a trumpet dress or a drop waist dress, usually a fingertip length veil looks so amazing. If you have an A-line dress or a very 'puffy' ball gown dress, we usually recommend a waist length though. If you have a straight cut dress, then pretty much any length of veil will go perfectly with your dress.
Step #3: Chose Your Finishing Accent
Once you determine the style in the length of your veil, the next decision is your finishing accent. You really can't choose wrong here, just find something that you love.

Just because your dress has no lace or sequins or beadwork on it that doesn't mean your veil cannot. In fact, we love to bring that extra detail into your veil.
Our EVELYN is finished with lace and sequins that really catch your eye.
Now you see how easy this can be. Just narrow down each step and the different options and you will see that you know exactly what you want.
If you need a little bit of help, Contact Us now to see our full collection of gorgeous yet affordable wedding veils.


